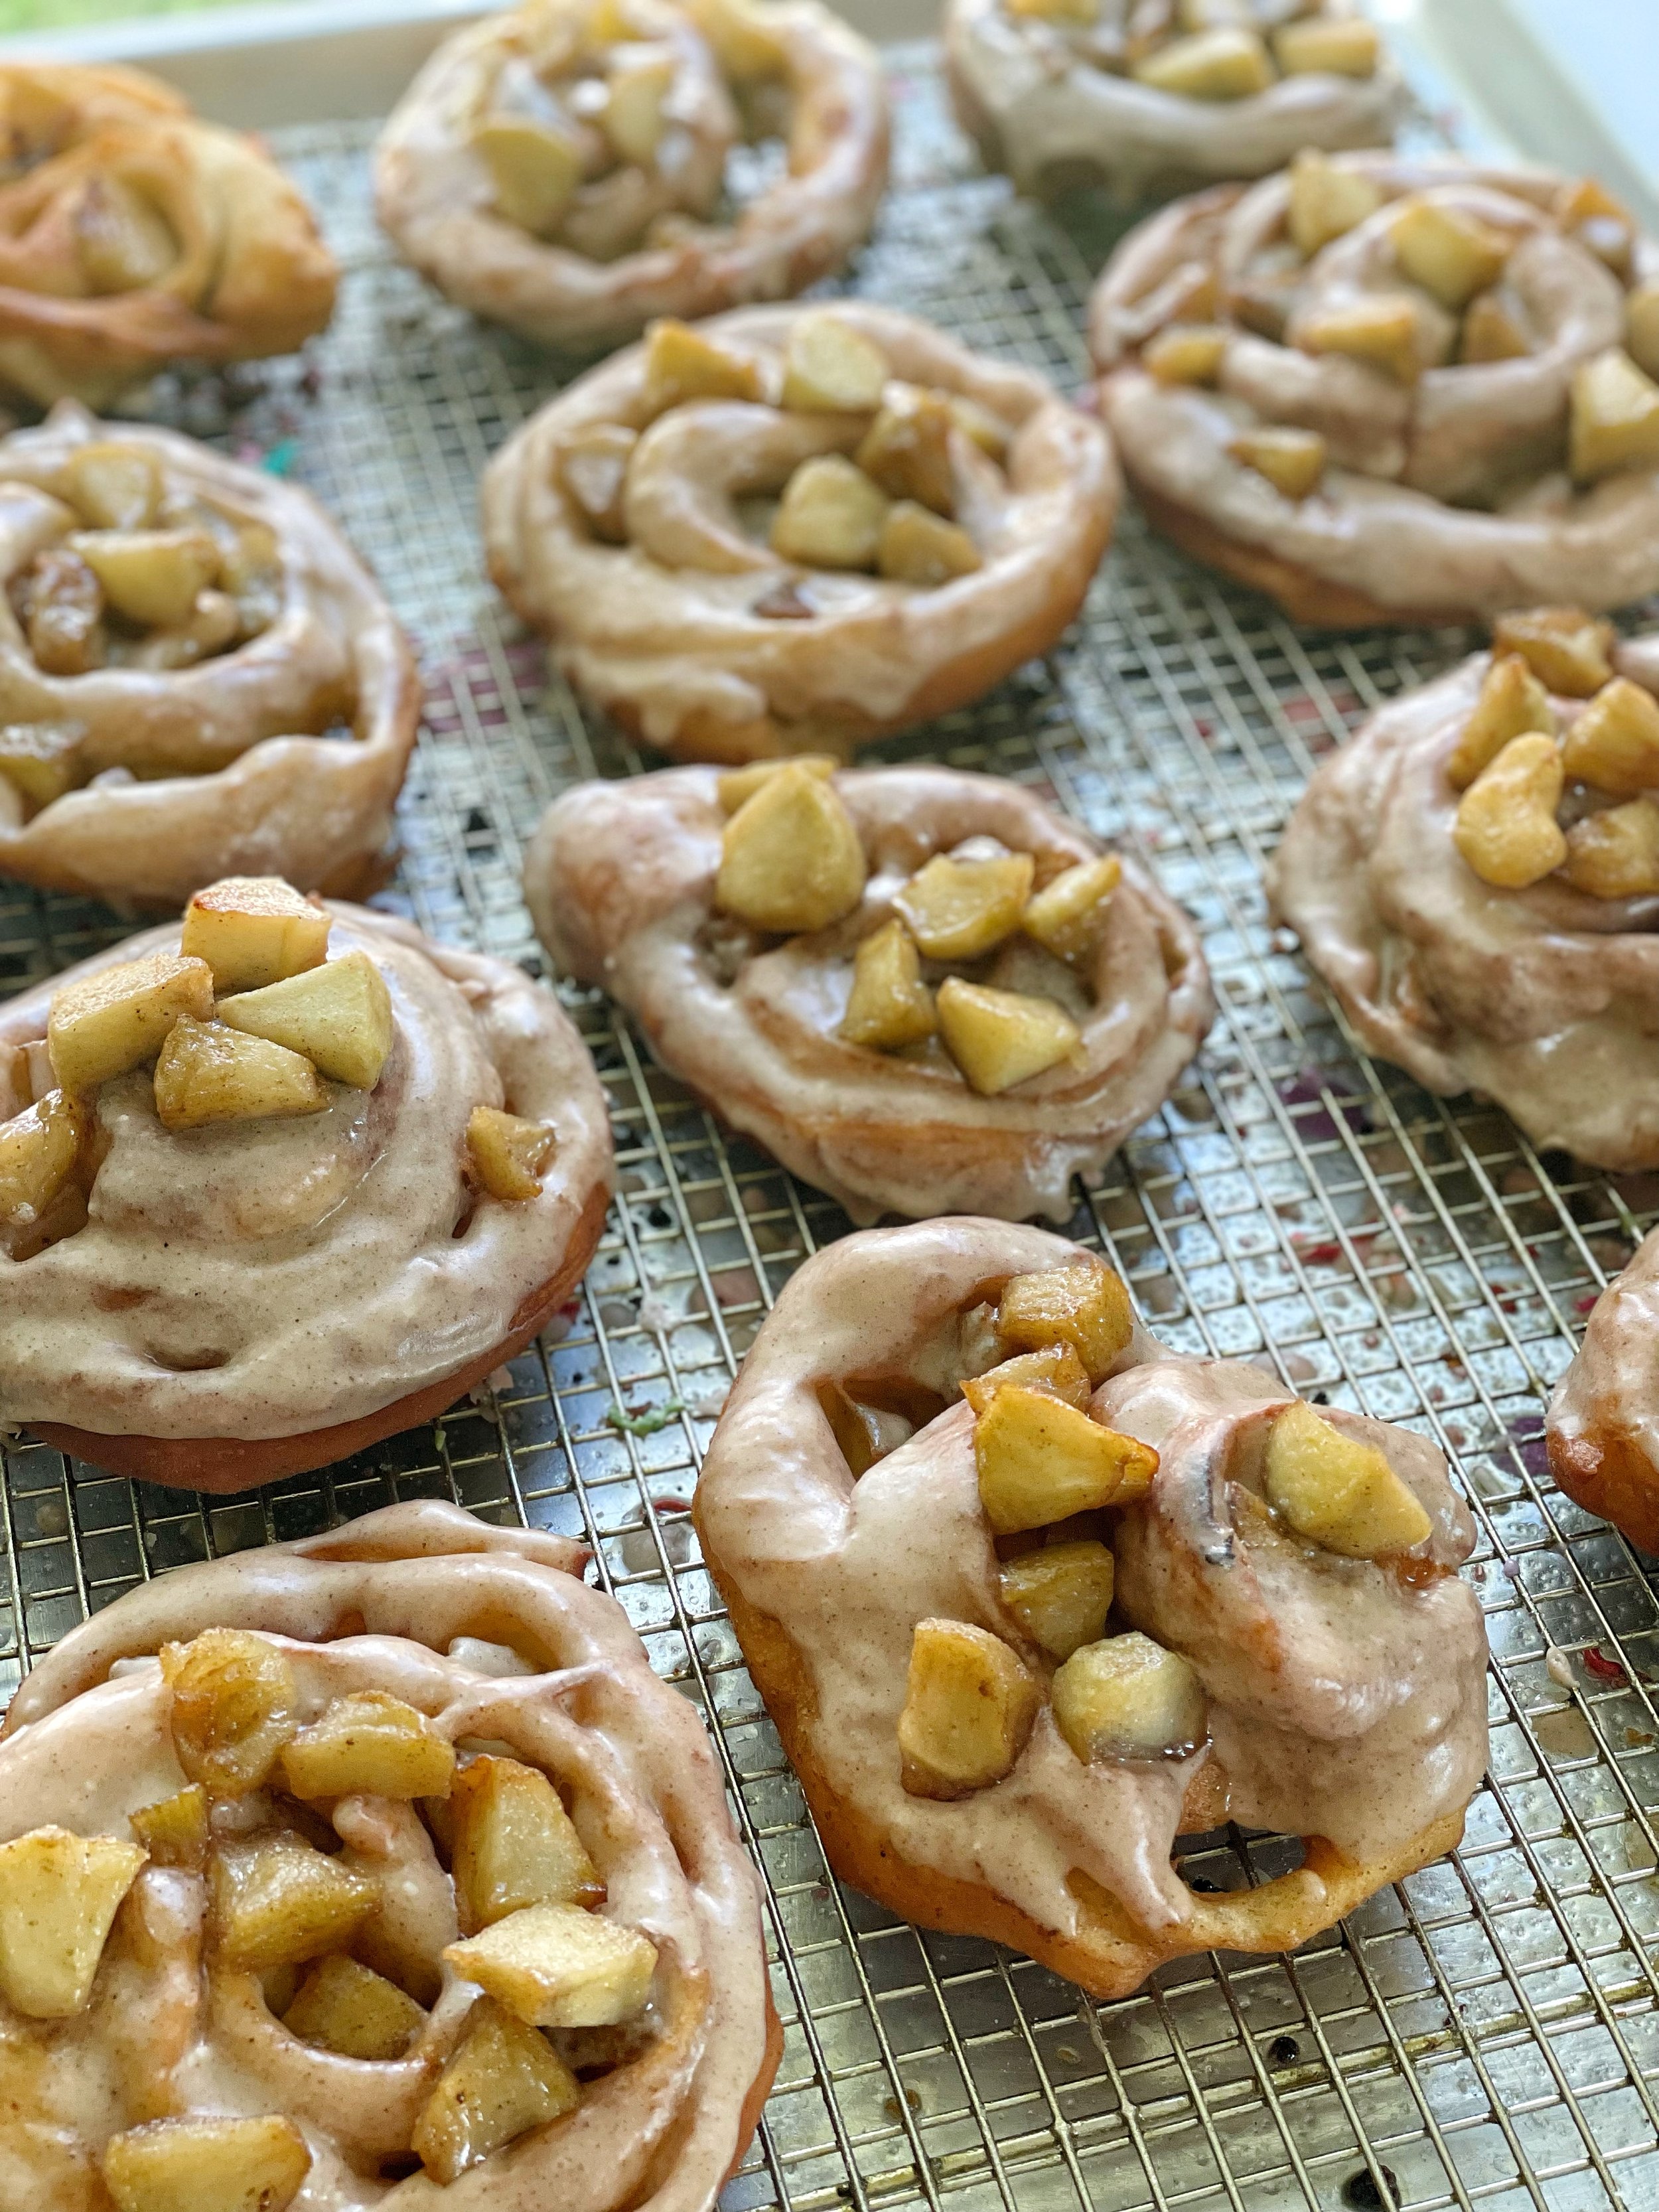
Pull-Apart Ultimate Apple-y Apple Fritters
(this post contains affiliate links)
Fritters and I go way back. But we’ve had a rocky relationship…
Back in my days as a donut blogger, I would travel to shops around the country and try to get a well-rounded view on what they were producing. To obtain the best view I’d opt for a very standard flavor, various doughs if they offered more than one, and a fritter if it seemed interested (or if they had one on the menu).
In my mind, the fritter should be a very different experience to other donuts. It should have large pieces of fruit that you run into throughout and a world of textures—gooey, crunchy, soft, etc.I have a very clear idea of the ideal here but not much of idea of how to get it. In fact, we need to dive into my unreasonably high expectations of fritters before we go much further.
I’m not certain where my ideal of fritters came from. Perhaps it was innate from birth. But my vision of fritters is thus: they should be full of fruit and variously textured. They should be a bunch of scraps of dough beautifully and randomly chopped up with apples and gathered into overlarge, handheld, fritters. No apples would ever fall out of a perfectly crafted fritter. And none of the small pieces of dough would go astray in the fryer.
And with these standards I’m sure it comes as little surprise that I encountered many fritters to fuss (negatively) about. My two biggest fritter peeves were ones that came across as masses of dough and ones with WAY too much cinnamon.
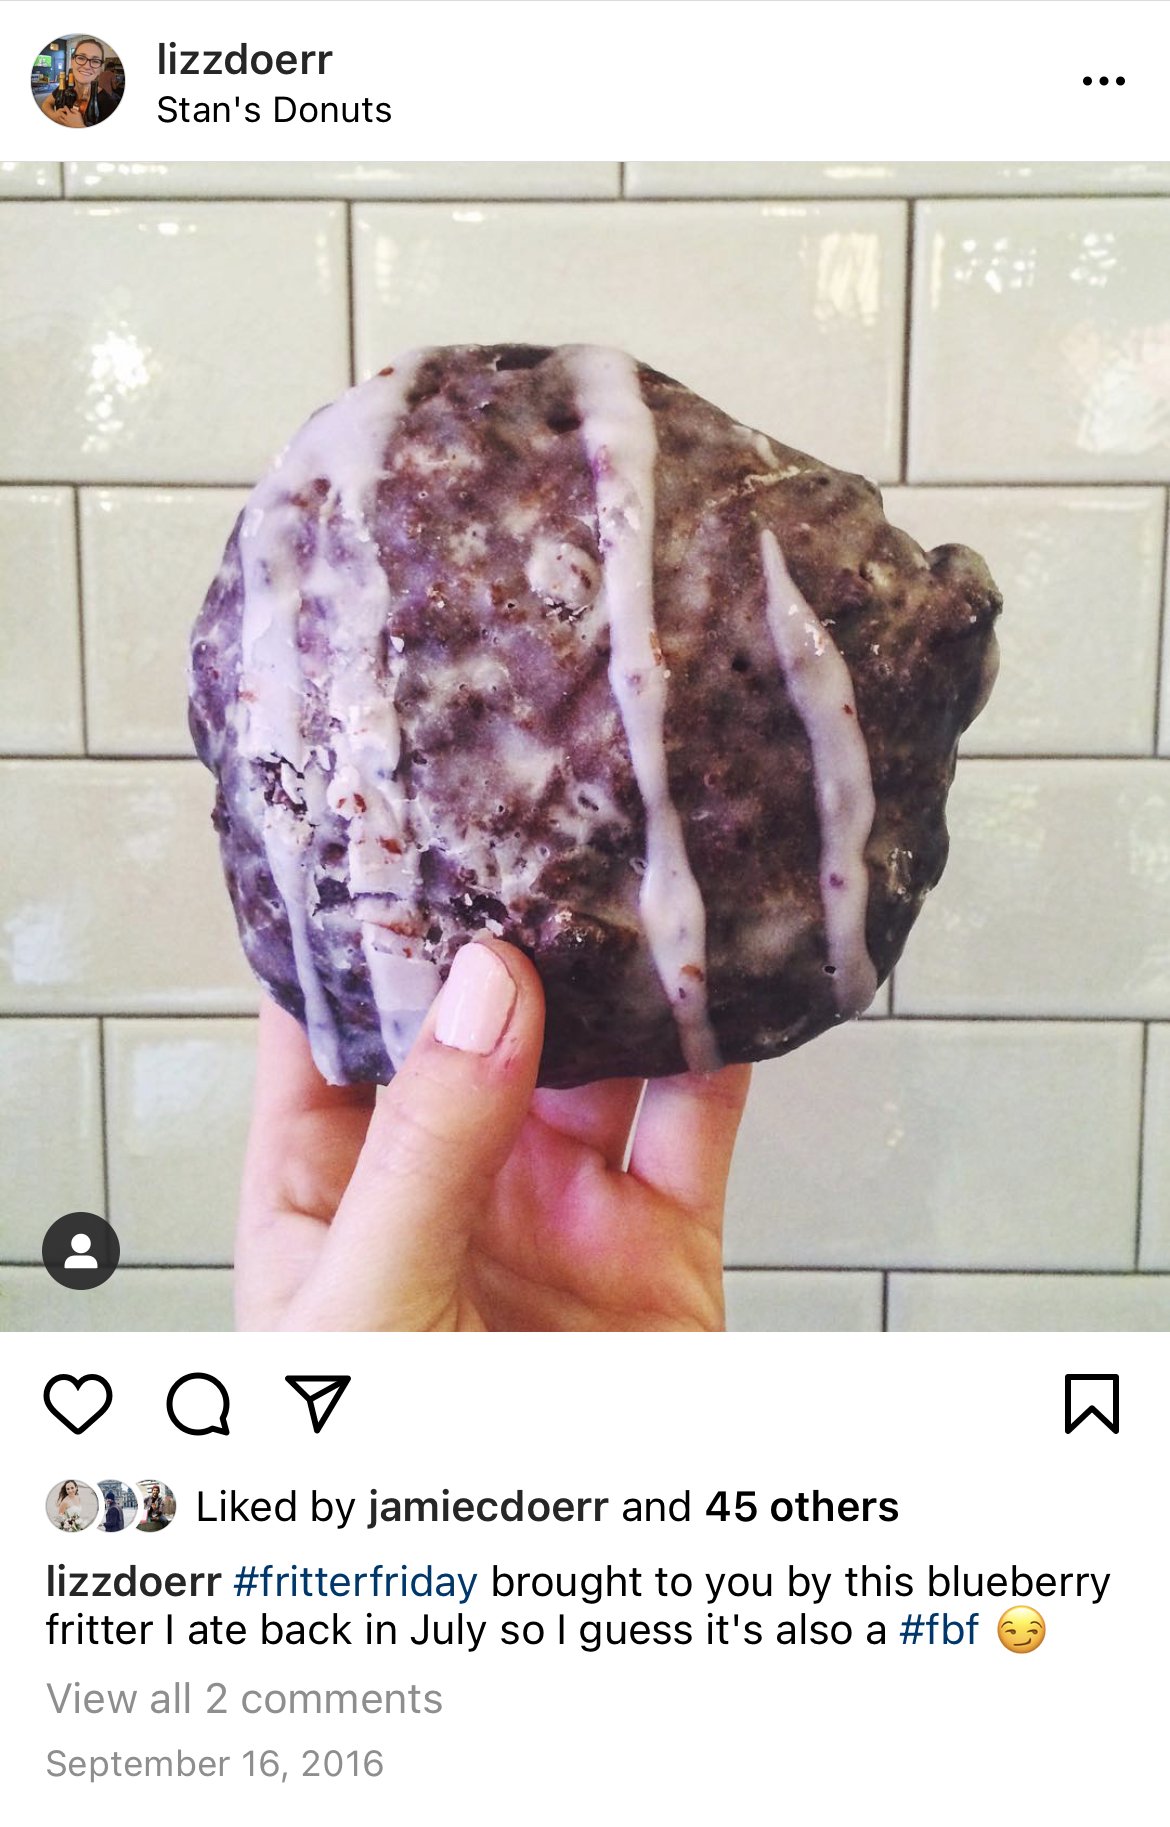
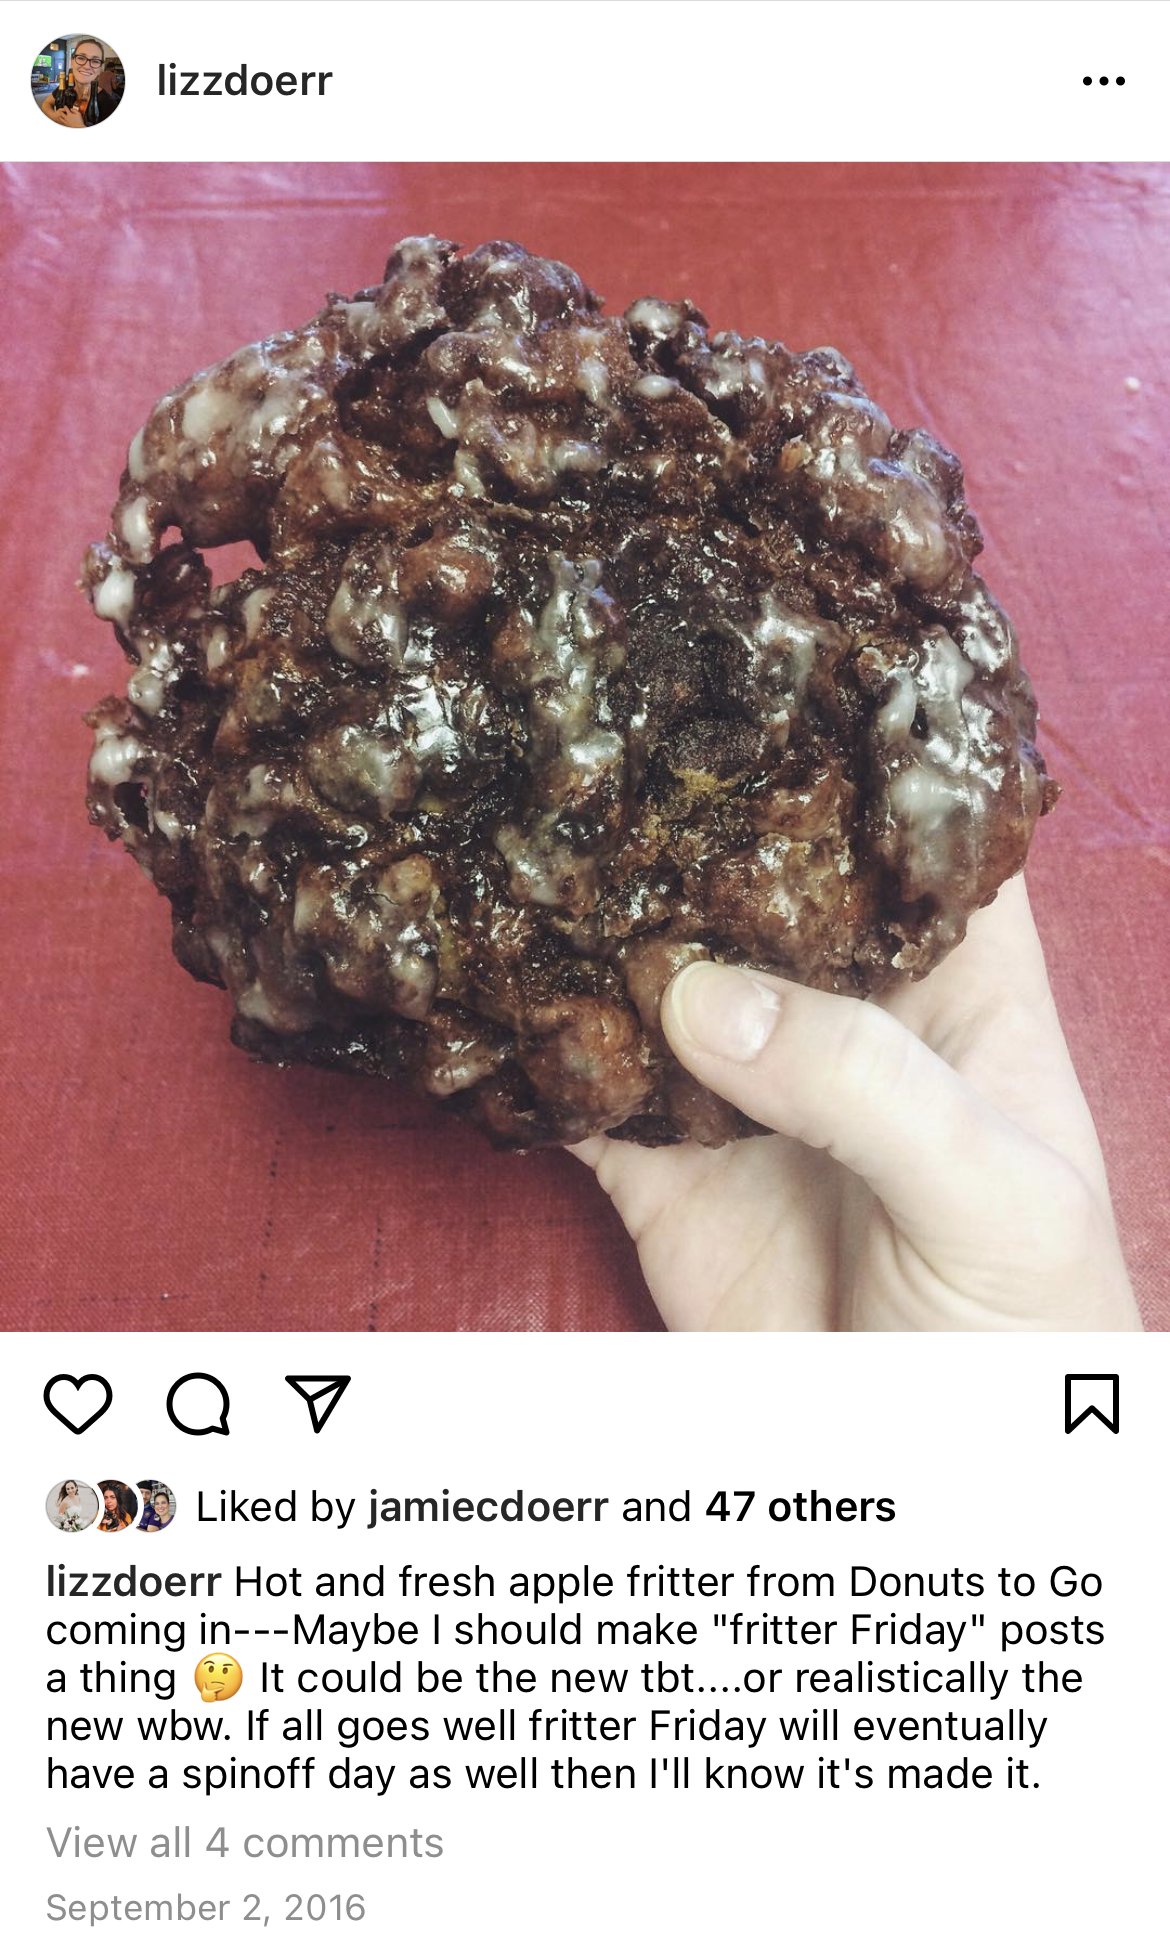
I pride myself on being a kind and empathetic person most of the time but truth be told I am, through and through, a hater (get you a girl that can do both…?). So I present to you: two fritters I ate five years ago and still think about as non-examples to this day.
This is just a lump of dough and blueberry in color only. I was very annoyed about this one. GIVE ME FRUIT and CRANNIES, or give me death!
Donuts To GO is my FAVORITE shop in Orlando. Go early and get the square glazed or the chocolate raised donut—both are to die for. But avoid the above cinnamon challenge at all costs.
With a fritters ideal so high it may not even be accomplishable, it was a tall order for me to create any recipe for such a donut.
This is the reason I almost never made fritters for Orlandough pop ups. The only one I can remember making was modeled after Hagrid’s Rock cake which was a raisin fritter and NOT CUTE. I explained that one away to myself as “meeting the brief”—Hagrid’s rock cakes were neither good nor cute so I understood the assignment. And then I swore to never make fritters again.
So as the theory of Fall was coming to Central Florida (it’s still 80 but the humidity is 15% lower!) and a whisper of apple fritters met me ears, I shivered. I’m NOT GOOD at making fritters. Or maybe I could be okay at making them but had set a bar unobtainable by mere mortals? I was torn and worried about the attempts.
And yet that’s what made it a great candidate for recipe testing.
We love an underdog.
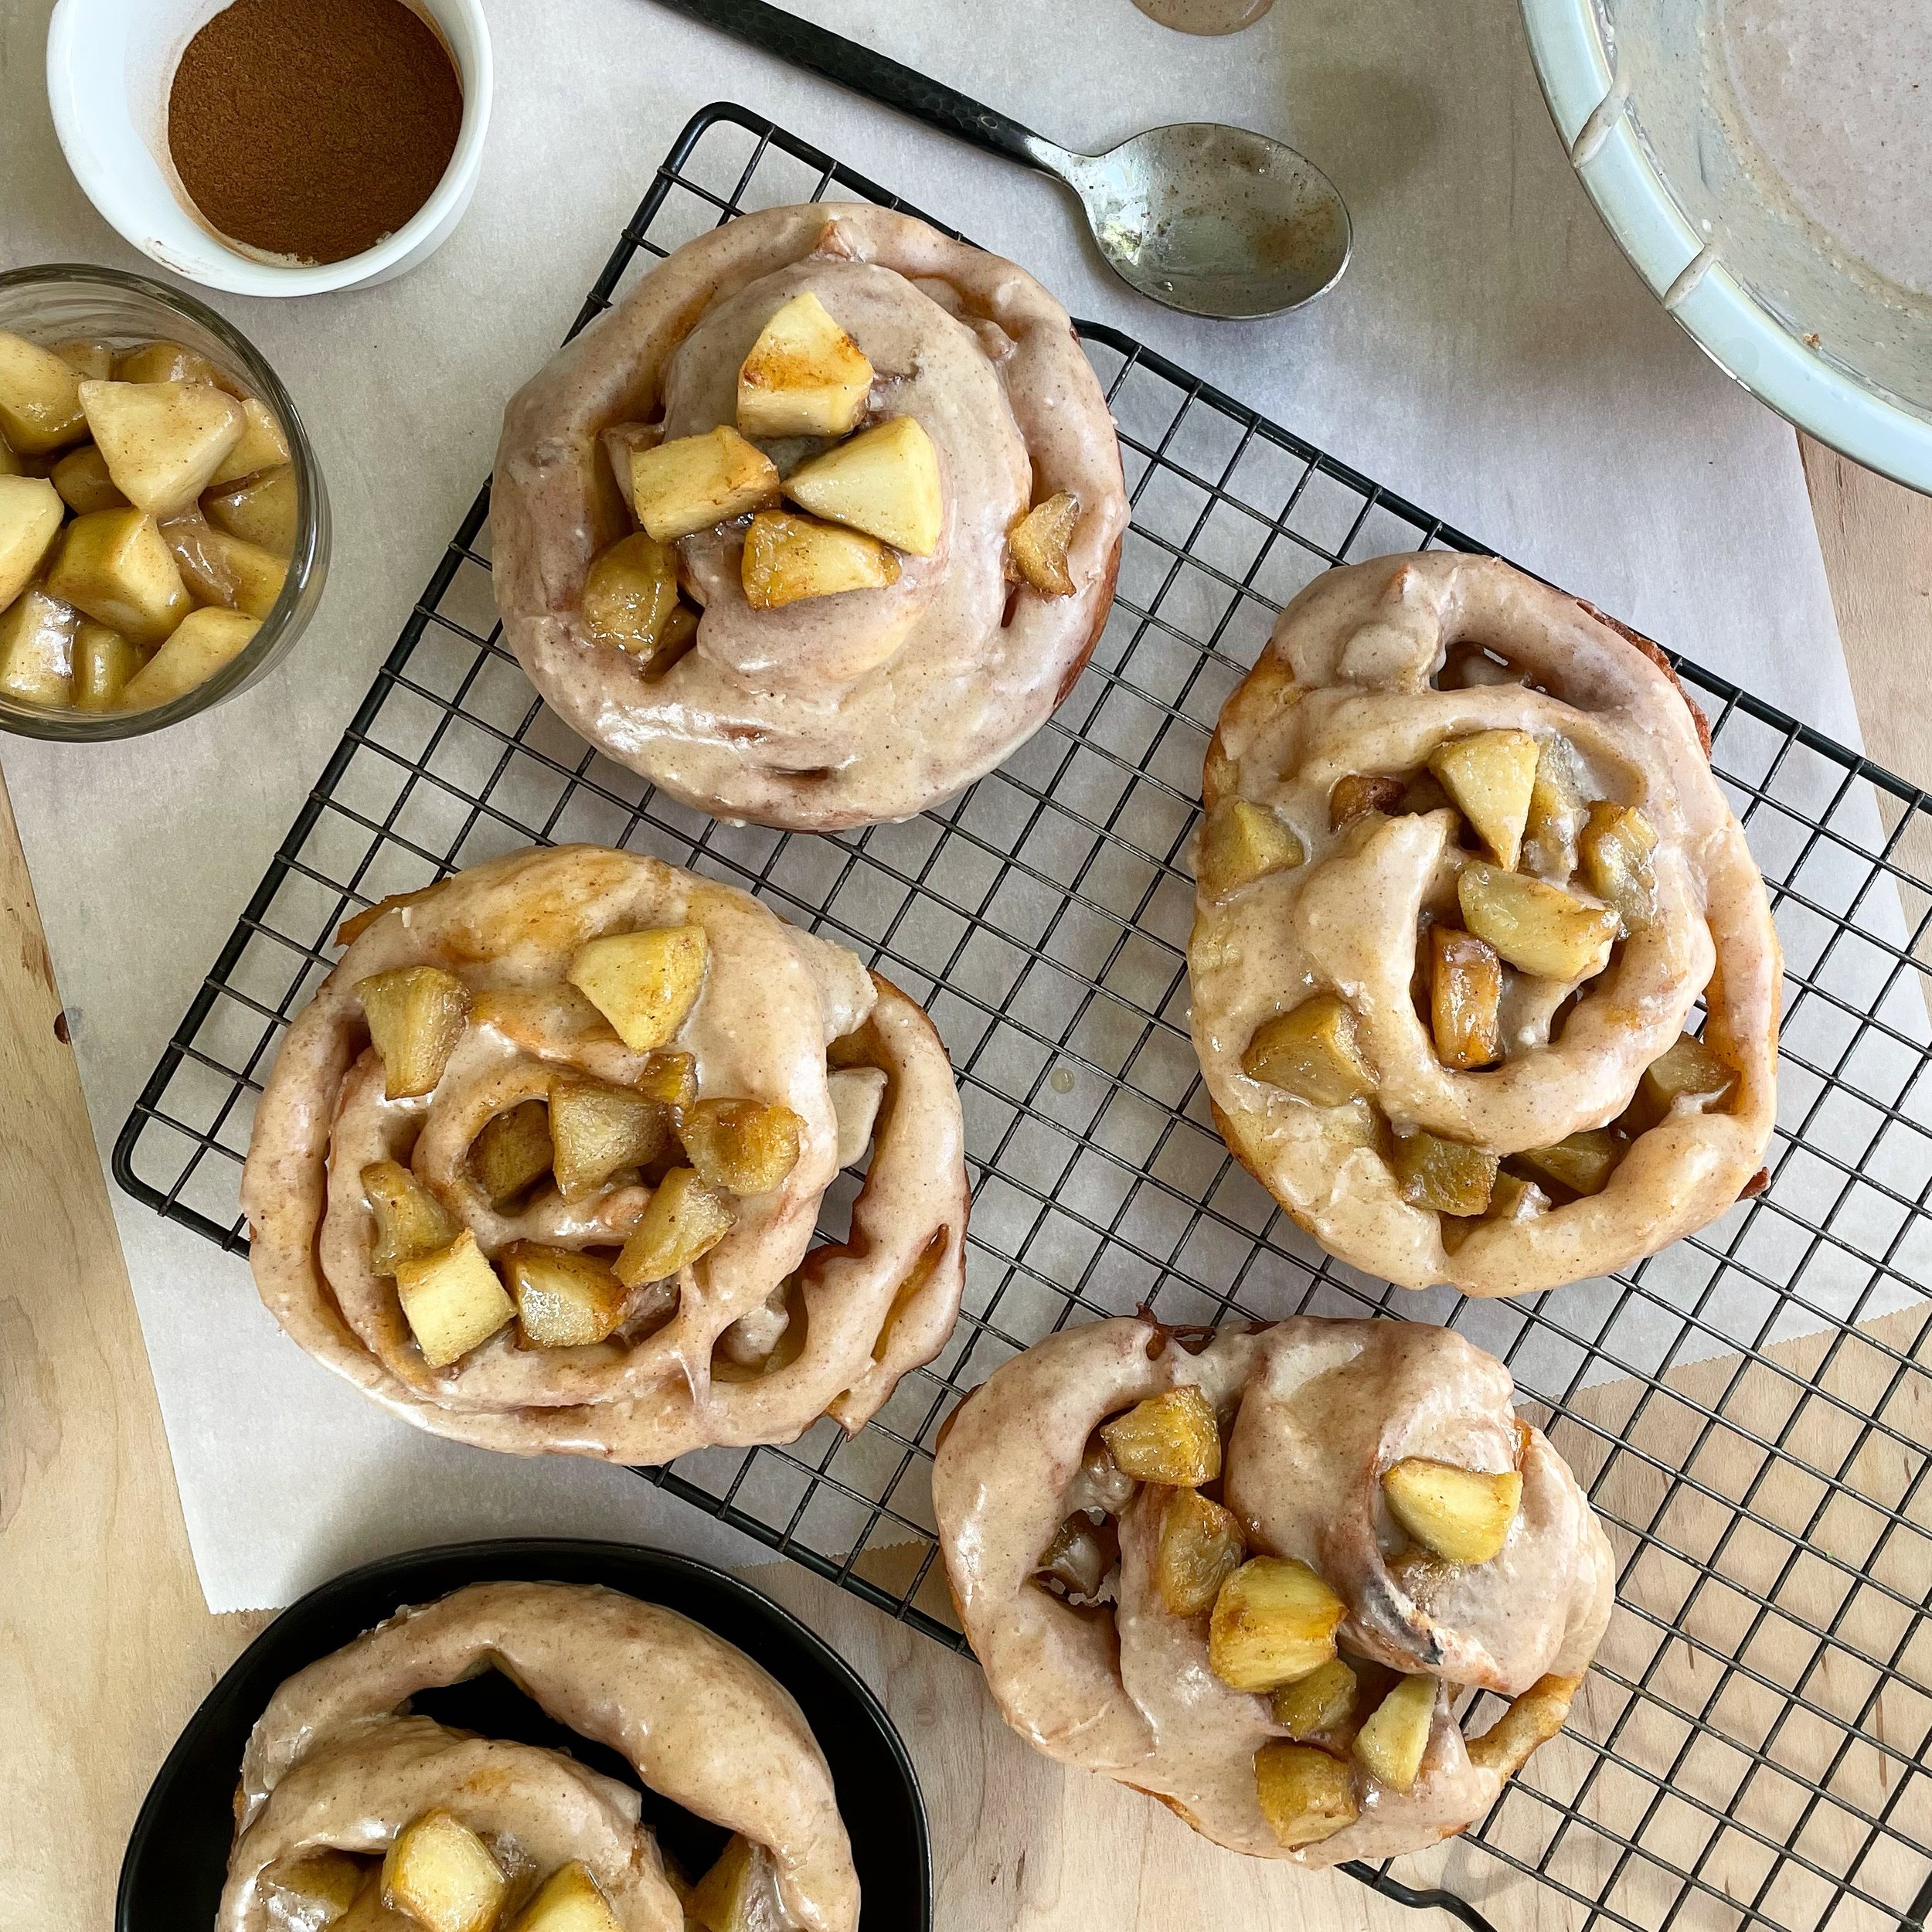
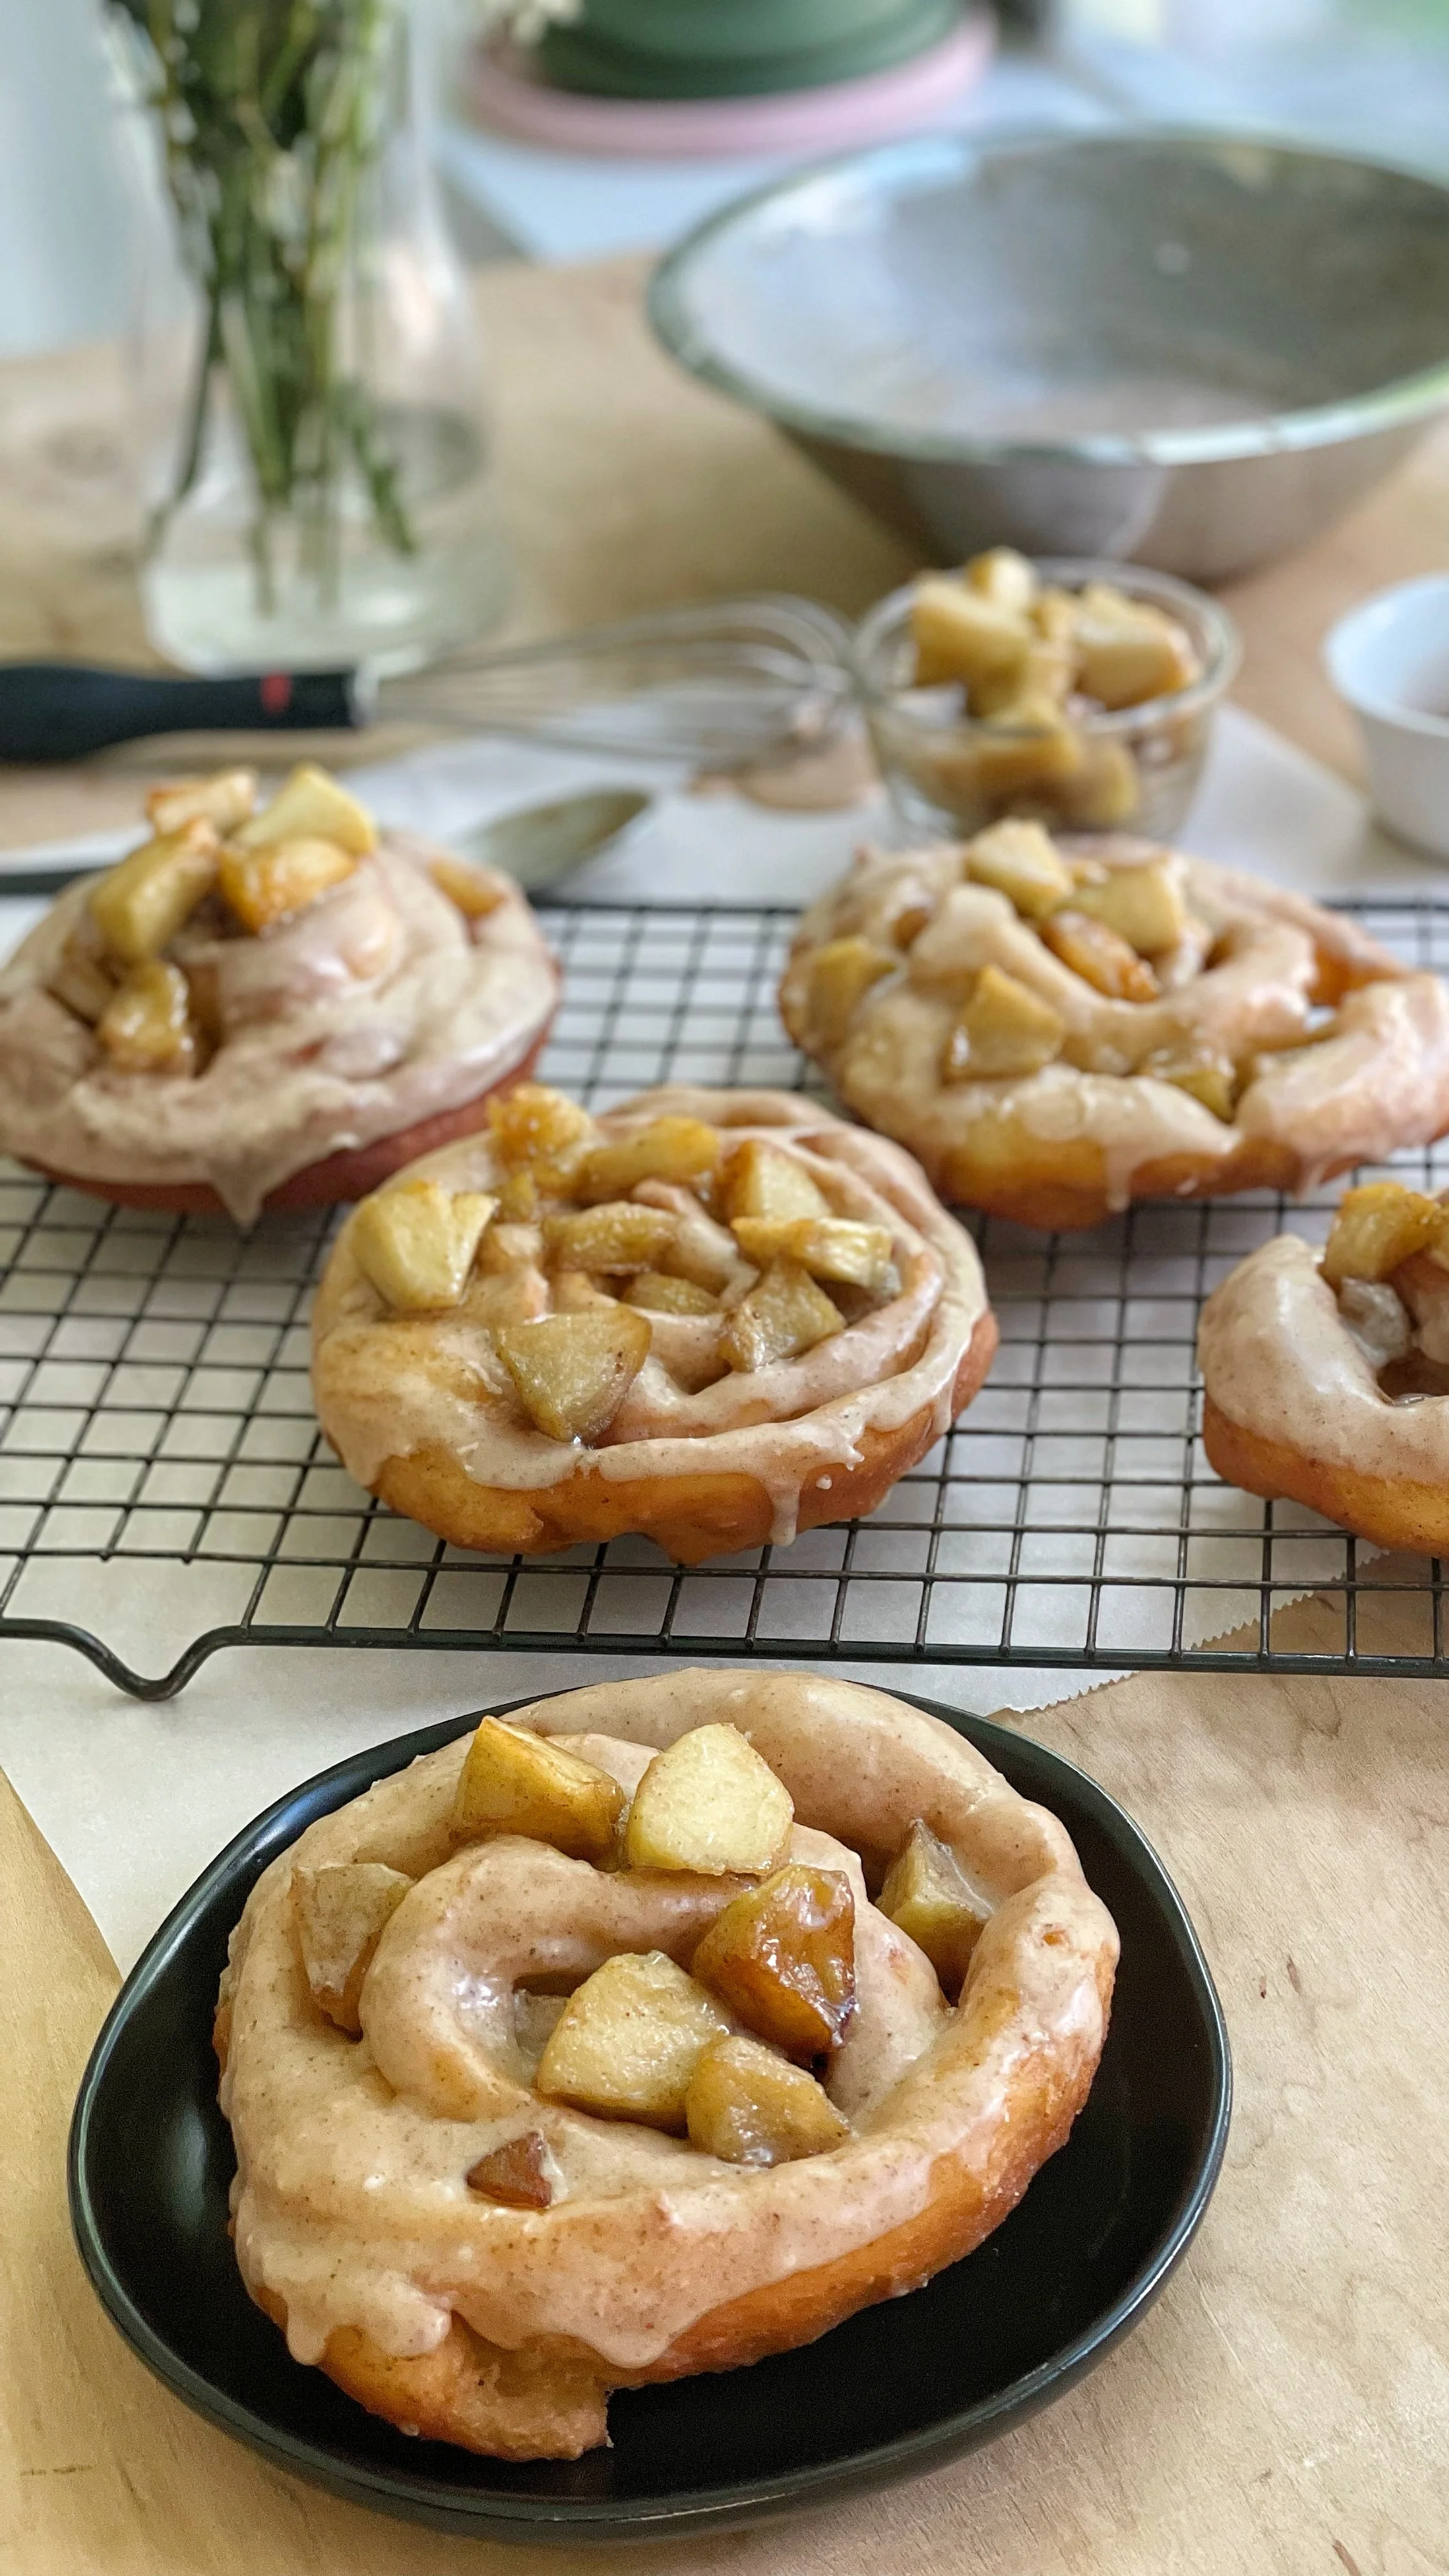
What I’ve created has nooks, crannies, lots of fruit, and a solid apple flavor (with the *correct* amount of cinnamon.)
However, it doesn’t look exactly like how I wanted it to look. And the method is different than I imagined.
This recipe is an apple fritter experience dissimilar to my ideal but nonetheless an enjoyable and unique one. The recipe itself is a BIT fussy but it’s nothing you can’t tackle in a lazy weekend morning. I hope you enjoy it!
Pull-Apart Apple Fritters
From Orlandough By Liz Doerr
Yield: ~20 Fritters (easily cut in half for 10 total fritters)
Special equipment you’ll need: (find some of my suggested brands/items at the end of this post)
Stand Mixer
Kitchen Scale
Chopsticks for flipping donuts
4 inch deep pan to fry in
Instant read thermometer
Kitchen Spider
Parchment paper
Wire racks for cooling
Same-Day Brioche Dough: From Orlandough
Bookmark this recipe! It’s perfect for same-day brioche donuts, a batch of cinnamon rolls, or monkey bread. It’s endlessly versatile and it ready to use in a little over an hour. No overnight chill necessary!
Ingredients:
780 g King Arthur All Purpose Flour
10 g Instant Dry Active Yeast
15 g Salt
80 g Granulated Sugar
4 Large Eggs
300 g Whole Milk
113 g butter (room temp, one stick or 4oz)
Method:
Combine flour, yeast, salt, and sugar in the bowl of a 5 qt stand mixer.
Add milk and eggs. Knead with the dough hook attachment for 5 minutes on low to medium speed.
Add in room-temp butter and mix on low until dough is homogenous (all the butter is incorporated in the dough)—be sure to scrape it down to the bottom of the bowl once of twice to make sure everything is incorporated.
Cover the bowl with plastic wrap and set in a warm, draft-free spot for one hour to rise.
Move on to preparing your apples while the dough rises.
Stewed Apples: from Binging with Babbish
Ingredients:
½ stick unsalted butter (room temperature)
4 large Granny Smith apples
Juice of one lemon
½ cup brown sugar
¼ tsp cloves
½ tsp ground ginger
1 tsp cinnamon
¼ tsp allspice
¼ cup water (60 mL)
1 tsp cornstarch
Method:
While the dough is rising, prepare your apples. Peel all 4 apples and then dice into bite sized cubes.
Toss the apple cubes in a bowl with the juice of one lemon.
In a large nonstick pan, melt ½ stick of unsalted butter over medium heat to lightly brown it.
Once you see the milk fats start to separate and change colors, add the cubed apples. Stir.
Add the brown sugar and stir again.
Add the spices (cloves, ginger, cinnamon, and allspice) and stir to combine. Simmer, tossing occasionally, for three minutes.
Mix ¼ cup warm water with 1 tsp cornstarch. Pour the slurry into the apples to thicken up. Stir and cook for an additional minute.
Set up a bowl with a strainer on top. Place the apples into the strainer and allow the juices to strain into the bowl below—save this juice for the glaze.
Stewed Apple Glaze: From OrlandougH
Ingredients:
16 oz powdered sugar
Stewed Apple Juice
Method:
Place powdered sugar in the bowl of your stand mixer with the whisk attachment. Slowly stream in apple juice until you reach your desired consistency (I like a thinner glaze). Whatever you’re aiming for be sure to test it for consistency: dip a spatula into the glaze and pull it up, you should have a smooth and continuous stream of glaze falling from it (the slower it falls, the thicker the glaze).
Putting it all together:
Ingredients:
1 Recipe same-day brioche dough
1 Recipe Stewed Apples
1 Recipe Apple Glaze
Oil safe for frying (1 quart should be enough)
The amount of oil you need will depend on the size of pan you’re using. I use 100% corn oil . Canola is a good option too. But check your oil’s smoke point before you purchase—you want it to be about 425-450 F just to be safe.
Method:
Lightly flour a clean work surface and turn your dough out onto it.
Roll your dough out to 1/4 inch thickness.
Scatter your stewed apples on top of the dough.
Starting from one end, roll the dough and apples up like you would a cinnamon roll, doing your best to keep the roll as tight as possible. Once you reach the end, pinch the dough together along the seam where the end piece meets the log of dough.
Preheat your oil: Add 2 inches of oil to the pan you’re frying in and bring it to 350F. Have a wire drying rack set up next to the oil and a small bowl as well.
Cut out your fritters: return to your log of dough and using a large knife slice 1 inch thick fritters out. Do your best to squish the apples back in if they fall out.
Once your oil is hot add in as many fritters as will fit and fry for one minute per side. If any apples fall out during frying fish them out with your kitchen spider and set them aside in the small bowl. Continue until all your fritters are fried, placing the finished fritters on the wire rack to cool.
Dip or drizzle each fritter with your stewed apple glaze while they’re still warm (pick your level of sweetness—drizzle is less sweet and full dip is more sweet). Then top each fritter with some of the wayward apples you fished out during frying.
Enjoy immediately OR pop a cooled fritter into the microwave for 10 seconds to reheat before eating.
Resources: Links to my preferred items!
Ingredients
King Arthur All Purpose Flour (full disclosure this is DEFINITELY cheaper at Publix or Costco)
Pink Himalayan Salt (I know people prefer kosher but this is what I’m used to and what I’ve tested this recipe with. Keep in mind some salts are saltier than others—sounds weird, doesn’t it?)
Resources
Hit me up on Instagram with any questions I’m happy to help out with any questions you have about donuts and/or this recipe. Just shoot me a DM!
Kitchen Tools
Thermometer (this is the one I use, but this one is also preferred by a lot of cooks)
Bench Scraper (this one has inch measurements on it which are great for donut letters (class coming soon!))
Bowl Scraper (set of two) (two seems like too many but these work so much better than spatulas for getting dough out of bowls and you might just get addicted to using them and need both…)
Lodge Cast Iron Pan with LID (love a lid, helps speed up the oil heating imo—not backed by any evidence just me thinking it—and also nice to have so once you’re done frying you can cover it up and curb the oil smell a bit)
