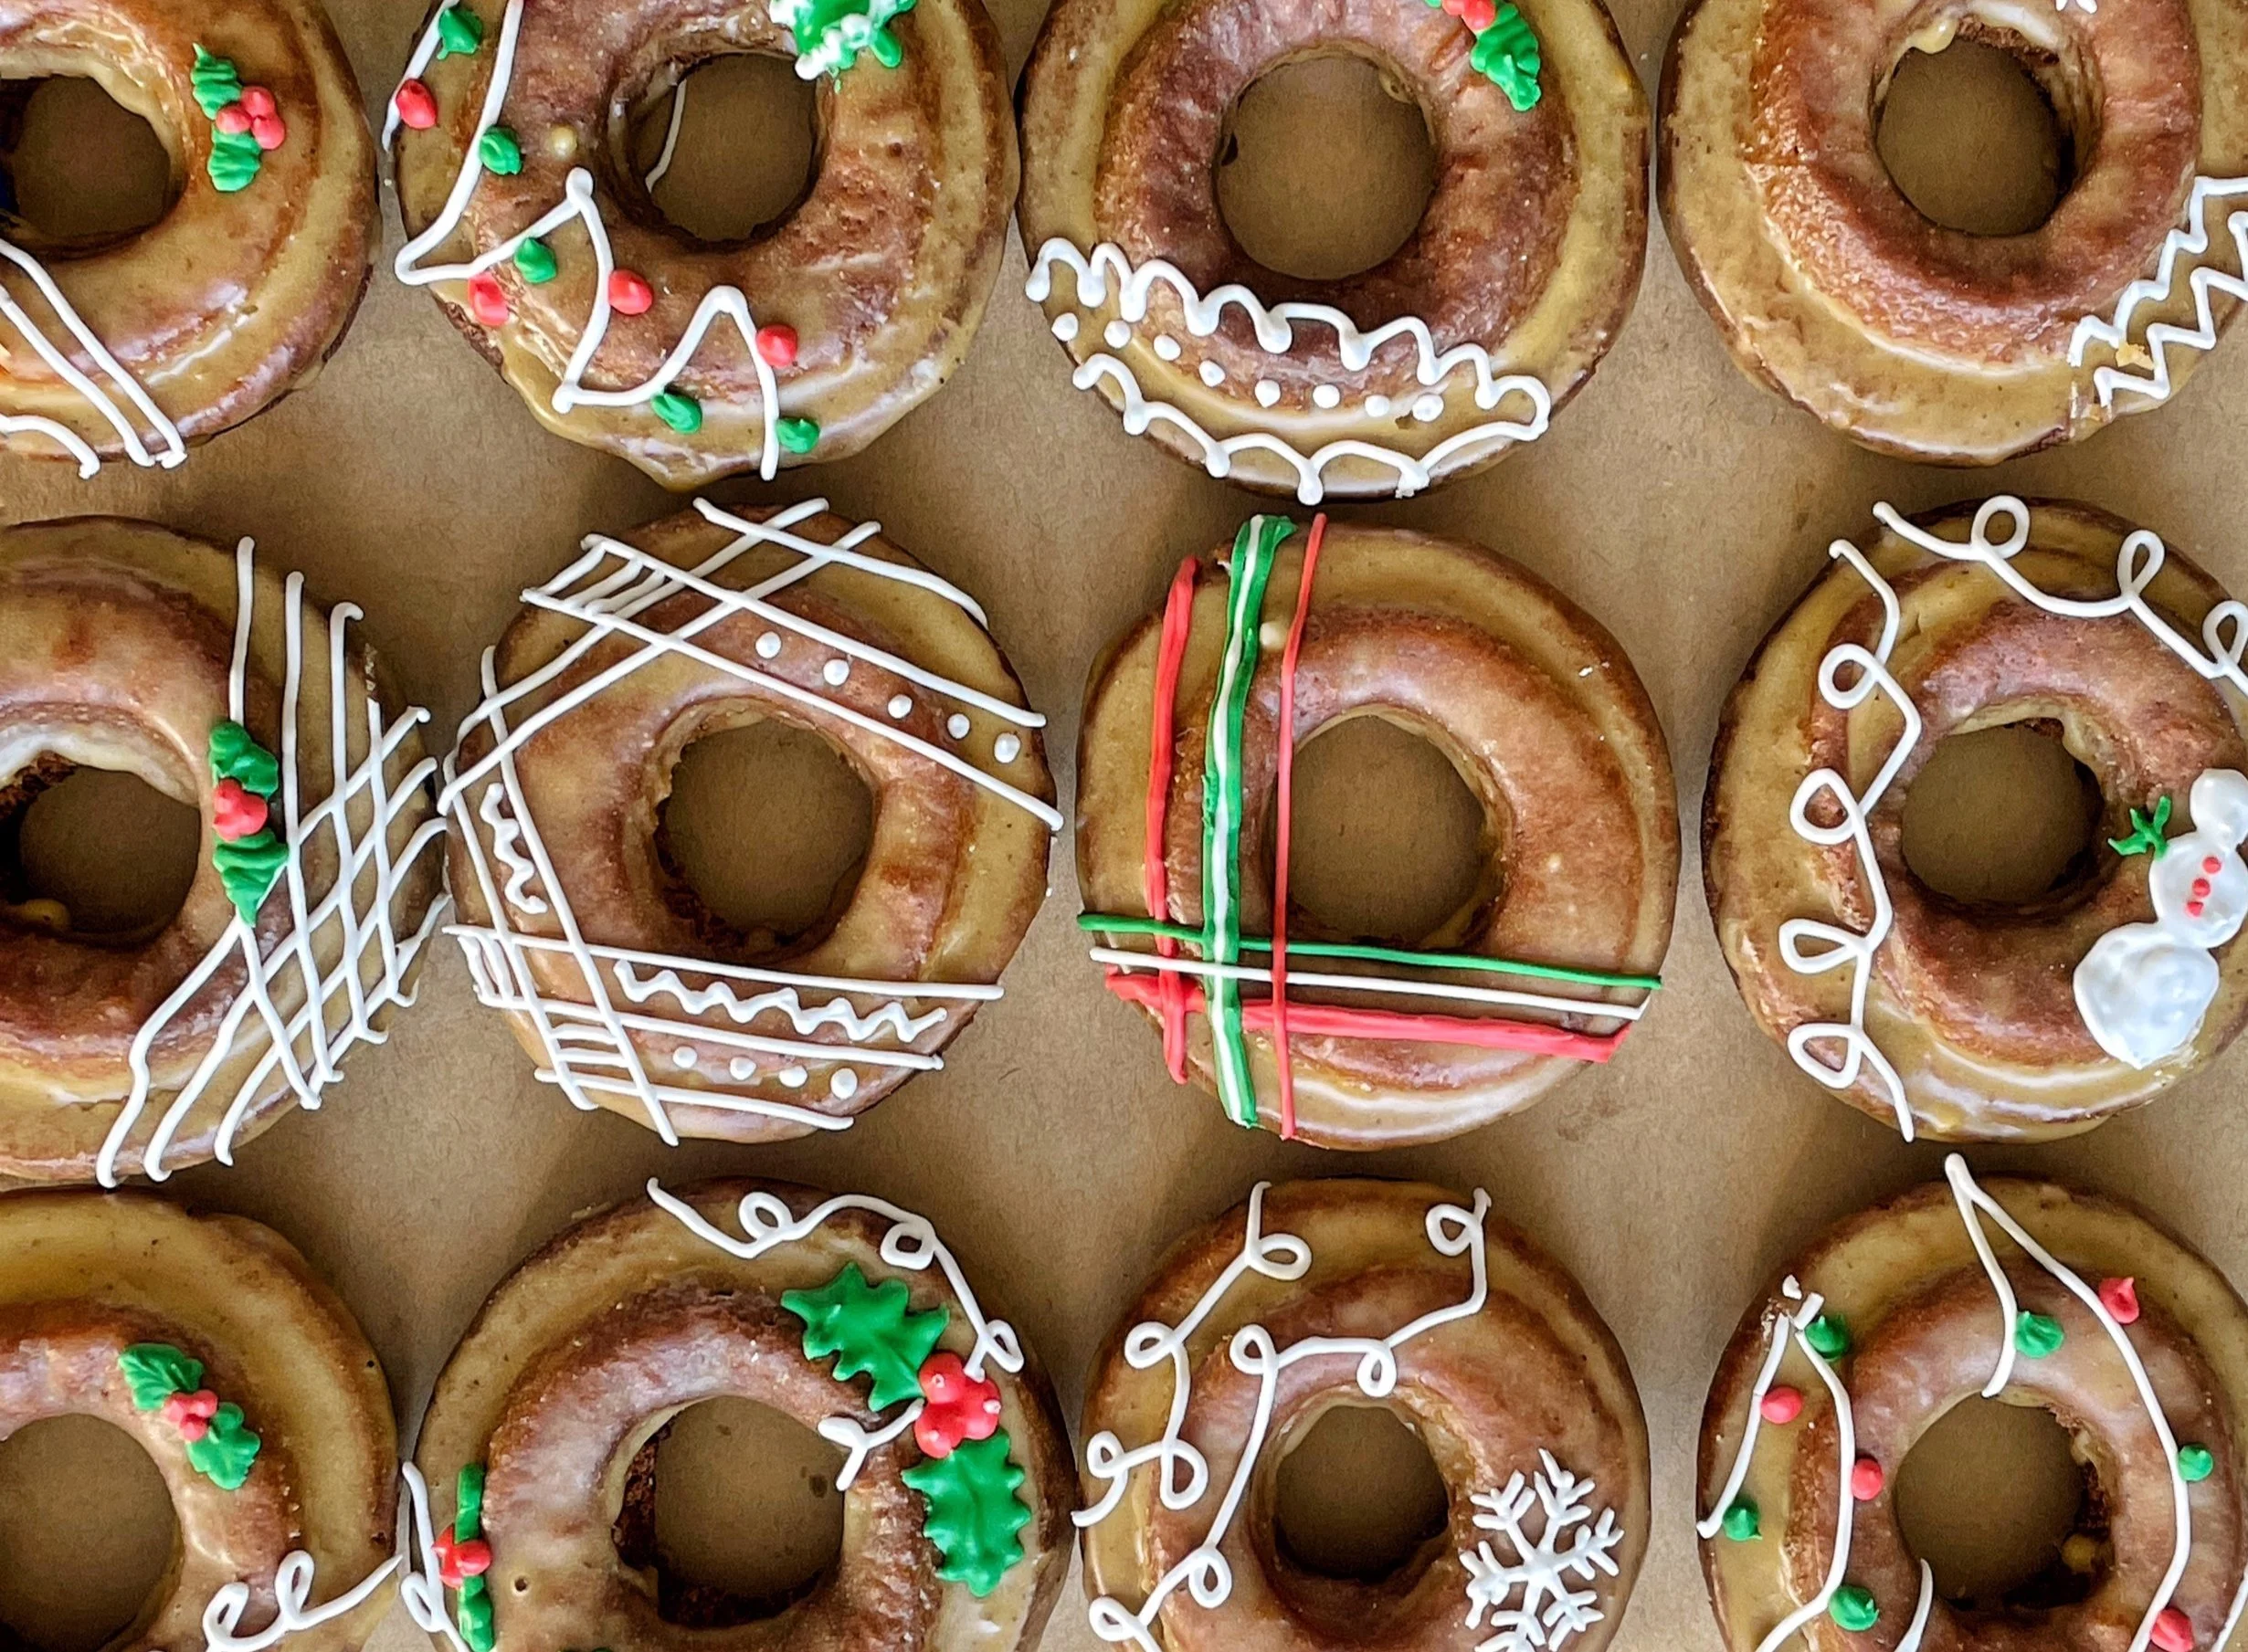
Gingerbread Old Fashioned Donuts
(this post contains affiliate links)
In 4th grade we read a story about a molasses spill which I believed to be a work of fiction meant to introduce us to molasses.
As I was googling for images of the book I found out that Boston actually had a giant molasses spill in 1919, preceded by an explosion—the whole event likely more terrifying than the picture book depicted for 8 year olds.

But this isn’t a post about how the early 1900’s were full of horrific working conditions and deathly accidents leading to the start of the labor movement in America. That’s for another time, another website. No, this is all to say that I got to try molasses in 4th grade because we read a book about it (though upon this brief reflection I doubt that the main point of the book was for us to try a sugary syrup...)
As the pickiest child eater, I was elated to find in class that day in 4th grade that I didn’t hate molasses—I turned my nose up at the J part of a PB&J so there was no knowing what I’d like. To my delight, many kids in the class didn’t enjoy the molasses which had the added benefit of making me part of a smaller (i.e. cooler) group of kids that did—a club of which I was not generally a member.
With my new identity as a molasses stan and sense of superiority, I hopped in my mom’s Dodge Grand Caravan and immediately requested we make the molasses cookies I got a recipe for at school.

Now what does any of that have to do with gingerbread? Or donuts? One of the most prominent flavors in gingerbread is the molasses (and the ginger…). So when I first attempted to turn gingerbread into an old fashioned I found myself, a molasses-tasting expert, seeking out that flavor.
Generally, my old fashioned recipe has 3/4 cup of granulated sugar in it. Molasses is sweet and liquid which would mean its addition would require an adjustment to the sugar and liquid content. I opted for a 1:1:1 situation to start—I removed 1/2 cup of sugar and 1/2 a cup of sour cream to make room for the addition of 1/2 cup of molasses.
I fried it up and found myself in a familiar place; oftentimes when I add flavors to dough they get neutralized by the frying process—there was no unique flavor coming through once they were fried. Just donut. I couldn’t taste molasses. I couldn’t taste spice. I went through the effort of adding all these other ingredients to wind up with a plain tasting donut and honestly what is even the point?
Round two I went ALL IN—get all that granulated sugar out of here! This was a job for 3/4 cup of molasses. I left the sour cream as-is at 1/2 cup as the dough was too dry with anything less. I also doubled the spices. The result was a nicely textured gingerbread-esque donut. .
Though it needed just a little something. I created an accompanying gingerbread glaze recipe for these donuts (but kept it thin) for just a touch more oomph, taking them into 4th-grade-Liz’s dream Flavortown.
Find the recipe below!
Be sure to follow me on instagram and tag me if you try these out. I’m also available via DM if you have any questions! Stay tuned for a special episode of But Make It Donuts on my YouTube Channel where I’ll use this recipe to make a gingerbread house (*fingers crossed*).
Gingerbread Old Fashioned Donuts
From Orlandough By Liz Doerr
Yield: 10-12 full size donuts
This is the most beginner-friendly recipe I’ve developed. You don’t need any large or expensive special equipment. The dough comes together quickly and easily plus it’s very forgiving. And I’m around if you have any questions!
Special equipment you’ll need: (find some of my suggested brands/items at the end of this post)
Chopsticks for flipping donuts
4 inch deep pan to fry in
Instant read thermometer
3.5 inch donut cutter
Wire racks for cooling
Gingerbread Old Fashioned Dough
Old Fashioned dough is one of the easiest types of donut dough to work with and results in a cake-like, crunchy, but not overly-sweet donut. If you’re a beginner, start here!
Ingredients:
3½ cups All Purpose Flour
3/4 cup molasses
1 tbls baking powder
1/2 tsp baking soda
1/2 tsp salt
2 tsp ground ginger
1 tsp ground cinnamon
1/2 tsp ground clove
1 Large Egg (ideally room temp)
1/2 cup sour cream (full fat, ideally room temp)
1 tsp vanilla extract
4 tbls butter, melted
Method:
In a large bowl, whisk together the flour, sugar, baking agents, salt, and spices (all the dry ingredients).*
In a small separate bowl, whisk together the egg, buttermilk, and vanilla extract. Add to the dry ingredients and begin to mix using a spatula. After a few turns, stream the butter on top of everything and mix until it come into a ball of dough. I add the butter last to avoid it solidifying**
Once it’s mostly together I like to turn it out onto a lightly floured surface and give it a couple of kneads in order to incorporate the any dry areas. The dough will be thick enough to roll out.
Cover and place in the fridge to use the following day or proceed to the frying instructions below.
*You can also use a 5 qt stand mixer with the paddle attachment instead of a bowl if you have one.
**Melted butter hitting something cold like sour cream or egg can result in the butter firming back up and not being incorporated properly. So I like to incorporate some of those cold ingredients a but before I add in the melted butter to avoid this.
Gingerbread Glaze
Ingredients:
2 cup powdered sugar
½ tsp ground ginger
¼ tsp ground cloves (can cut this in half if you’re not super into clove like me)
¼ tsp ground cinnamon
¼ cup water
2 tbls molasses
Method:
Add all the ingredients to a bowl and whisk until smooth. The result will be a thin but flavorful glaze that gets into the nooks and crannies of your old fashioneds.
Putting it all together:
Ingredients:
1 Recipe Gingerbread Old Fashioned Dough
1 Recipe Gingerbread Glaze
Oil safe for frying (1 quart should be enough)
The amount of oil you need will depend on the size of pan you’re using. I use 100% corn oil . Canola is a good option too. But check your oil’s smoke point before you purchase—you want it to be about 425-450 F just to be safe.
Method:
Lightly flour a clean work surface and turn your dough out onto it.
Roll your dough out to 1/2 inch thickness.
Punch out as many donuts as you can but be sure to get a clean cut all the way around the donut so they expand properly in the fryer.
Preheat your oil: Add 2 inches of oil to the pan you’re frying in and bring it to 350F. Have a wire drying rack set up next to the oil and a small bowl as well.
Once your oil is preheated: score the tops of your donuts (I use a pairing knife and cut a box shape or you can score a circle all the way around the top of the donut). This will help the donuts expand in the oil and cook properly. Drop as many donuts in the oil as will fit and mind the oil temp—it will drop so you may need to crank the heat back up for a bit to get it back where you need it (between 325 and 345 is ideal—I ask that you preheat to a higher temp above to help with the inevitable drop in temp that happens).
The donut will sink below the oil and then rise to the surface. Once they rise to the surface, flip them over and fry for 90 seconds. Then flip them back over and fry for 75 seconds. Remove the donuts from the oil and place on the wire rack. Temp your oil to make sure you’re still in the above range and continue the frying process until all your donuts are fried.
Dip the donuts in the glaze (you can do this while they’re still warm)
Enjoy!

Resources: Links to my preferred items!
Ingredients
King Arthur All Purpose Flour (full disclosure this is DEFINITELY cheaper at Publix or Costco)
Pink Himalayan Salt (I know people prefer kosher but this is what I’m used to and what I’ve tested this recipe with. Keep in mind some salts are saltier than others—sounds weird, doesn’t it?)
Resources
Hit me up on Instagram with any questions I’m happy to help out with any questions you have about donuts and/or this recipe. Just shoot me a DM!
Kitchen Tools
Thermometer (this is the one I use, but this one is also preferred by a lot of cooks)
Bench Scraper (this one has inch measurements on it which are great for donut letters (class coming soon!))
Bowl Scraper (set of two) (two seems like too many but these work so much better than spatulas for getting dough out of bowls and you might just get addicted to using them and need both…)
Lodge Cast Iron Pan with LID (love a lid, helps speed up the oil heating imo—not backed by any evidence just me thinking it—and also nice to have so once you’re done frying you can cover it up and curb the oil smell a bit)